Creating an easy microphone describe can be a fun and repay action, whether you're an aspiring artist or just looking for a originative outlet. Drawing a microphone involves understanding its introductory structure and break it down into elementary shapes. This guide will walk you through the steps to make a detail and realistic microphone describe, create it approachable for beginners and enjoyable for all.
Understanding the Microphone Structure
Before diving into the pull process, it's indispensable to understand the basic components of a microphone. A typical microphone consists of the follow parts:
- Head: The top part where the sound is captivate.
- Body: The main cylindric part that houses the intragroup components.
- Grip: The manage or base that you hold.
- Grill: The protective mesh extend the head.
- Cable: The wire that connects the microphone to the audio scheme.
Materials Needed for Your Easy Microphone Drawing
To get begin, gather the postdate materials:
- Paper: Choose a smooth, high quality report for better results.
- Pencils: Use a range of pencils from 2H to 6B for different shading effects.
- Eraser: A good character eraser for correcting mistakes.
- Sharpener: To continue your pencils sharp.
- Ruler: For trace straight lines and measuring.
- Reference Image: Having a reference image can be very helpful.
Step by Step Guide to Drawing a Microphone
Follow these steps to make your easy microphone line:
Step 1: Sketch the Basic Shapes
Begin by adumbrate the introductory shapes that will form the microphone. Use light pencil strokes to outline the head, body, and grip.
Start with an oval for the head, a cylinder for the body, and a rectangular shape for the grip. These shapes will function as the foundation for your drawing.
Step 2: Refine the Shapes
Refine the basic shapes to better resemble a microphone. Add details to the head, such as the grill, and define the body with more precise lines. The grip should have a more ergonomic shape.
Use a ruler to ensure the body is straight and the grip is proportionate to the head and body.
Step 3: Add the Grill
The grill is a important part of the microphone's design. Draw a series of small circles or lines to typify the mesh covering the head. This will afford the microphone a more naturalistic appearance.
Be careful not to make the grill too dense; it should be light enough to allow sound to pass through.
Step 4: Draw the Cable
Add the cable to the bottom of the grip. Draw a twist line that extends from the grip to the bottom of the page. This will represent the cable unite the microphone to the audio scheme.
You can add small details like a connection at the end of the cable for added realism.
Step 5: Shading and Details
Now that the basic structure is complete, it's time to add shadow and details. Use a range of pencils to make depth and property. Start with the head and body, adding shadows and highlights to yield them a three dimensional appear.
Pay special aid to the grill, adding darker lines to create the illusion of depth. The grip can also benefit from shadow to present where it would naturally be held.
Finally, add any extra details such as logos or brand names to the body of the microphone. This will get your draw more personalized and unique.
Note: Take your time with shade and details. It's wagerer to build up the shading gradually rather than applying too much pressing too quickly.
Common Mistakes to Avoid
When creating an easy microphone drawing, there are a few common mistakes to avoid:
- Overcomplicating the Design: Keep the design unproblematic and focalize on the canonic shapes. Adding too many details can make the pull seem clutter.
- Ignoring Proportions: Ensure that the head, body, and grip are proportionate to each other. A disproportionate microphone will look unnatural.
- Neglecting Shading: Shading is important for supply depth and property to your drawing. Don't skip this step, as it can get a significant difference in the final result.
Tips for Enhancing Your Easy Microphone Drawing
Here are some tips to enhance your easy microphone trace:
- Use a Reference Image: Having a reference image can help you realize the proportions and details of a existent microphone.
- Practice Shading Techniques: Experiment with different shading techniques to create depth and property. Cross concoct, stipple, and blending are all efficient methods.
- Add Texture: Adding texture to the grill and body can get your draw more realistic. Use small, light strokes to create the illusion of texture.
- Use Different Pencil Grades: A range of pencil grades can facilitate you reach different levels of shading and detail. Start with a harder pencil for light lines and switch to a softer pencil for darker shading.
By postdate these tips, you can create a more detail and naturalistic easy microphone drawing.
Examples of Easy Microphone Drawings
To inspire your own delineate, here are some examples of easy microphone drawings. These examples showcase different styles and techniques that you can incorporate into your own act.
| Style | Technique | Details |
|---|---|---|
| Realistic | Detailed shading and cross concoct | Includes grill texture, cable details, and brand logos |
| Cartoon | Bold outlines and bright colors | Simplified shapes and exaggerate features |
| Minimalist | Simple lines and minimal shade | Focuses on the introductory construction and proportions |
Each style has its own unique characteristics, so opt the one that best fits your esthetic vision.
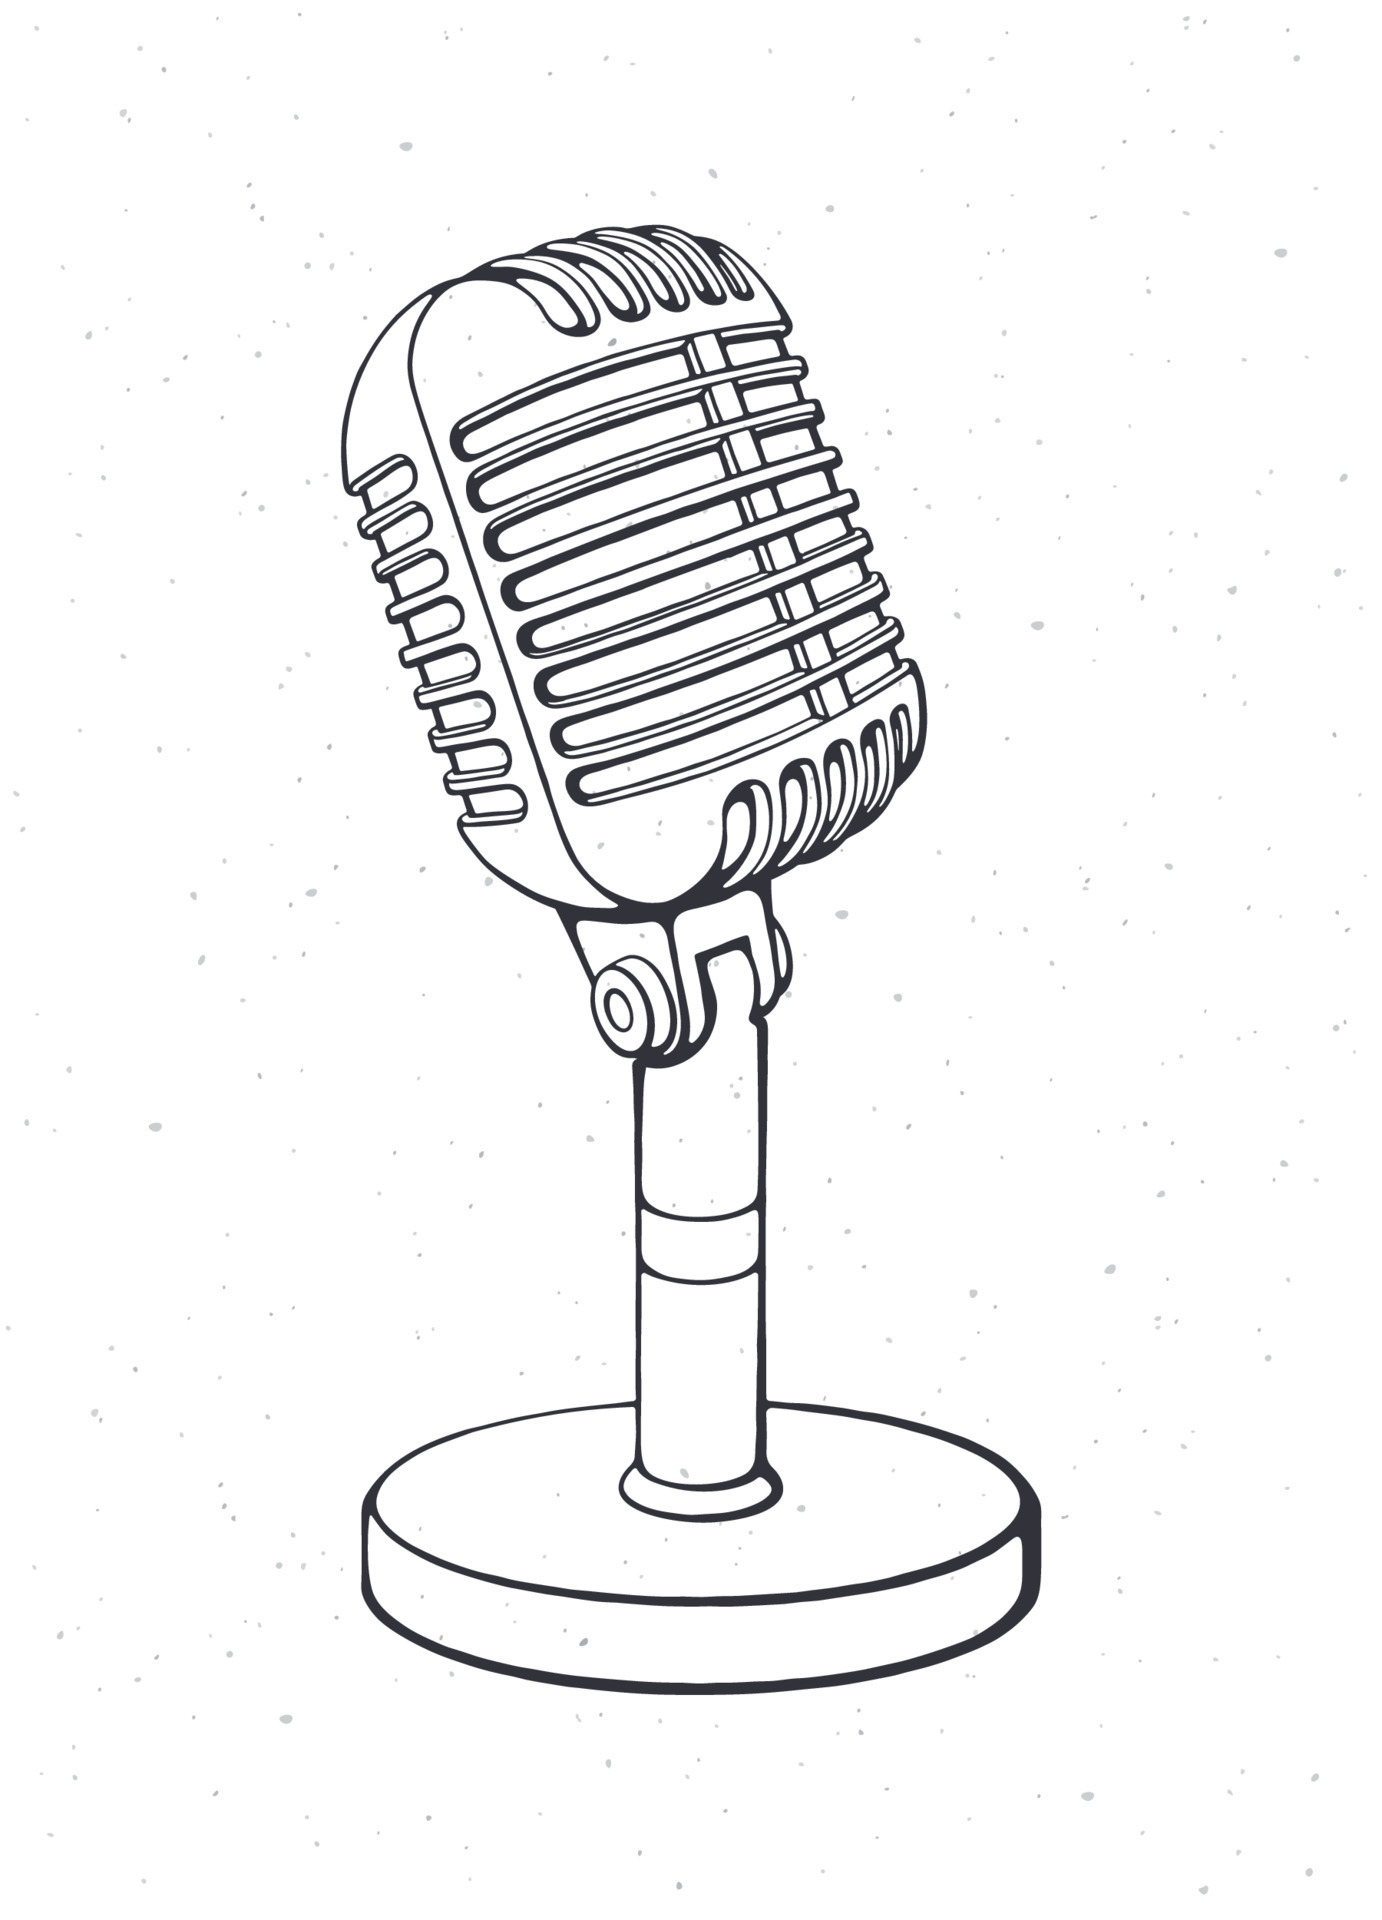
![]()
This image provides a visual example of a mere microphone line. Notice how the canonical shapes are used to create the overall construction, and how shading adds depth and dimension.
By analyze this exemplar, you can gain a bettor understanding of how to create your own easy microphone drawing.
Creating an easy microphone force is a rewarding experience that allows you to express your creativity and improve your artistic skills. By postdate the steps outlined in this guide, you can make a detailed and naturalistic microphone drawing that you can be proud of.
Whether you re a founder or an experienced artist, drawing a microphone is a fun and engaging action that can facilitate you develop your skills and explore new techniques. So grab your pencils and paper, and commence make your own easy microphone draw today!
Related Terms:
- microphone describe for beginners
- microphone computer drawing
- microphone sketch drawing
- microphone drawing styles
- microphone enliven reap
- microphone cartoon delineate